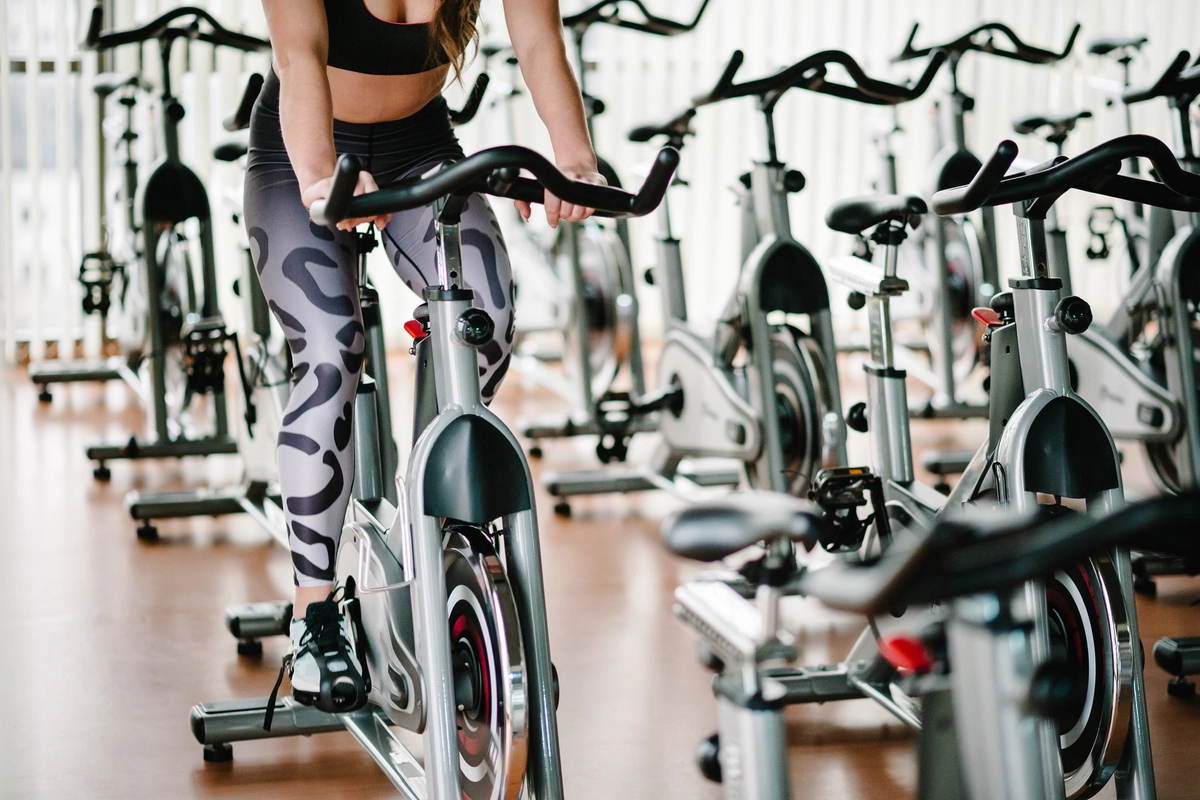
Indoor cycling classes can be a wee bit overwhelming between the dark room, loud music, figuring out how to set-up a cycling bike and learning how to clip your cycling shoes in and out of the pedals. We covered the basics in Indoor Cycling 101, and now we are here to help with bike set-up. Proper bike set-up can make your next spin class both injury-free and more enjoyable. BYKlyn Master Instructor Kat Piola gives us the lowdown on how to set up your indoor cycling bike.
How to properly set up your spin bike
First time trying indoor cycling class (also known as spin class)? Here’s how to get started with setting up your spin bike. It can be complicated, so if you need support or help, never hesitate to ask the spin instructor to help you set up your bike.
Remember to set up from the back to the front
Adjust the seat, then the handlebars.
Use your hips as a guide
The seat should be about hip height. Stand right next to the saddle. Place your hands on your high hip bones and/or lift your knee up to hip height to get an idea of where the seat should line up.
Try sitting on the bike
Clip into the pedals and bring your foot/pedal to the bottom of the pedal stroke…you’ll want a relatively full extension with a slight, soft bend at the knee. If you hyperextend the knee (a.k.a. lock the knee) or feel as though you are reaching for the pedals, it’s an indication you need to lower the seat. If the knee is too bent and you are not getting that fuller extension, you need to lift the seat higher.
Find the power position
The saddle slides back and forth and that position is determined by the angle of your knees and where they fall over the pedals. You want your knees to be over the ball of your foot. Start with the saddle in a neutral position. Then, get your body into riding position (hips back, neutral – not rounded or hyperextended – back) and bring one pedal directly in front of the other so that the cranks of the bike are even with each other.
Whichever foot is in front, check to see where the knee falls. If the knee goes too far forward over the toes, slide the seat back. If the knee is at 90 degree angle and falls over or behind the ankle, slide forward.
Raise the bar
Handlebars are somewhat subjective. An avid outdoor cyclist may prefer the handlebars quite low, while most indoor riders are more comfortable with the bar at seat height or higher. If you have back issues, it’s recommended that the handlebars be up a little higher.
Last checks before getting started
Handlebars also slide back and forth on some bikes… Again start at a neutral position. Riders should be able to comfortably grip handlebars without reaching for them while keeping their shoulders drawn back away from the ears and soft bend at elbows. Always have a light grip on the bars and let the legs bear the body weight. Check that your knees don’t hit or come uncomfortably close to the bar as well.
And you’re ready to go! Use the warmup to get more comfortable on your bike. If any final adjustments need to be made you can do it before the ride really gets underway. Note: new riders should still get assistance from an instructor or cycling studio staff. Don’t be afraid to speak up and ask for help.
